A. Integrating ServiceNow Incidents
ServiceNow API Credentials
In order to authenticate with the ServiceNow API server you need user credentials and a set of OAuth client credentials. You will need these details later, when configuring the integration in Phoenix Security.
User Credentials
In order to connect with ServiceNow from Phoenix Security you need the credentials (username and password) of a user that has the “itil” role assigned to it. The recommendation is to create a user specifically for the integration so that you can better control its credentials and permissions, but any active user with the right role/permissions would work. You can manage users within Service Now by navigating to Organisation > Users.
If the “itil” role has been modified or there are additional constraints in place in your ServiceNow account, some of the required permissions might not be assigned to the user credentials. These are the low-level permissions, at the ServiceNow table level, required for the integration:
| Table | Permissions |
| sys_user_group | read |
| incident | read / create / write |
| sys_choice | read |
| sys_attachment | read/ create |
OAuth Client Credentials
As well as the user’s credentials described above, you need to create an entry in the Application Registry to allow Phoenix Security to access ServiceNow’s API. You can do that by navigating to System OAuth > Application Registry and clicking on “New“.
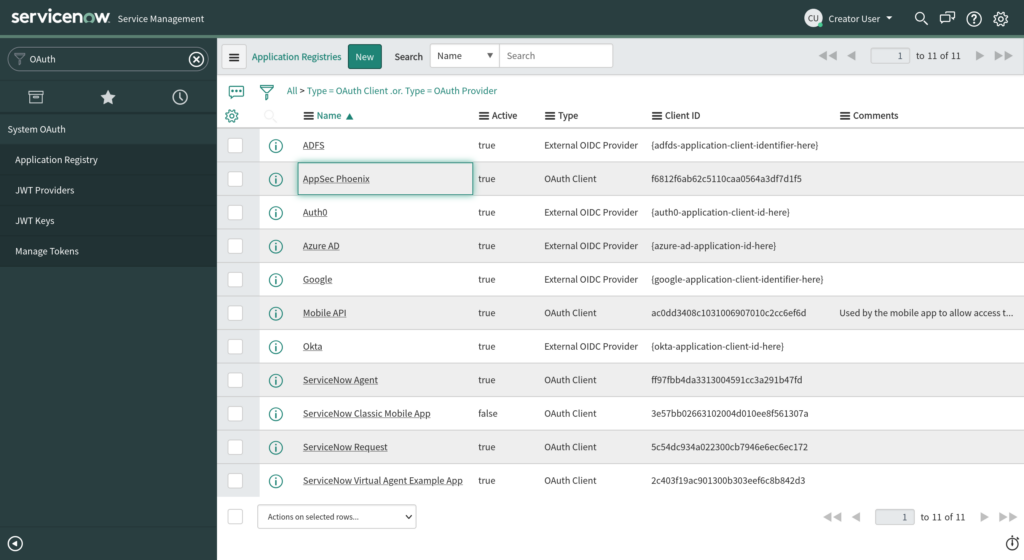
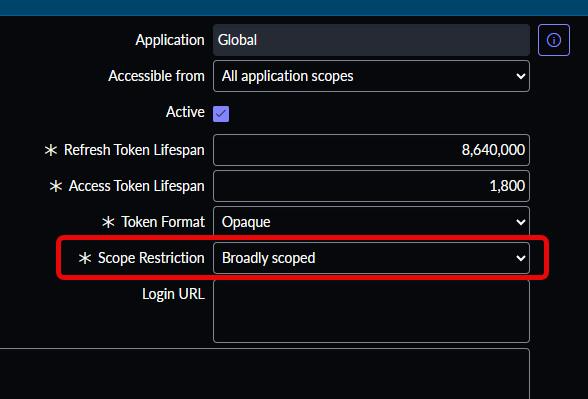
Enter a name for the client application and provide a client secret. Make sure that the “Active” tick-box is selected and leave the “Lifespan” default values. Then Save/Update the application entry.

In newer versions of ServiceNow you might see an additional “Scope Restriction” setting at the bottom of the right column. In that case, please select “Broadly scoped”.
Integrating ServiceNow into Phoenix Security
Before using ServiceNow Incidents integration features within your Phoenix Security instance, you have to set it up first by configuring the ServiceNow – Phoenix Security integration. Here are the steps to complete the integration process:
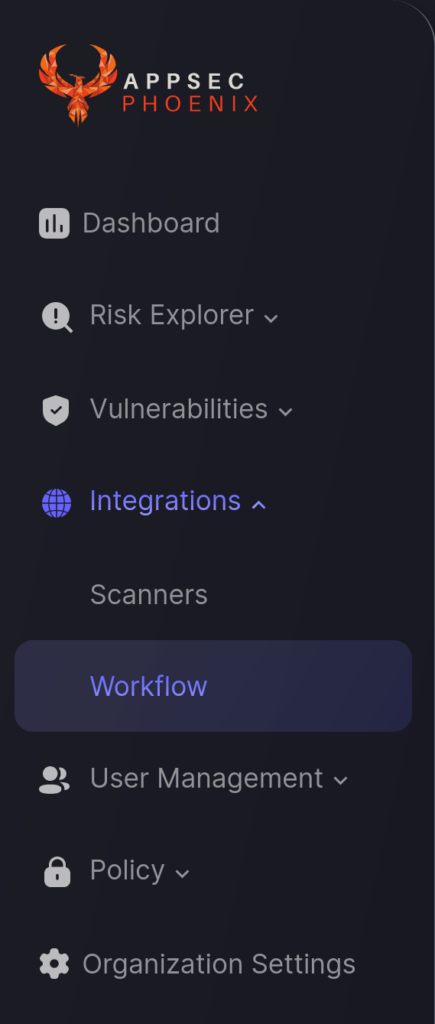
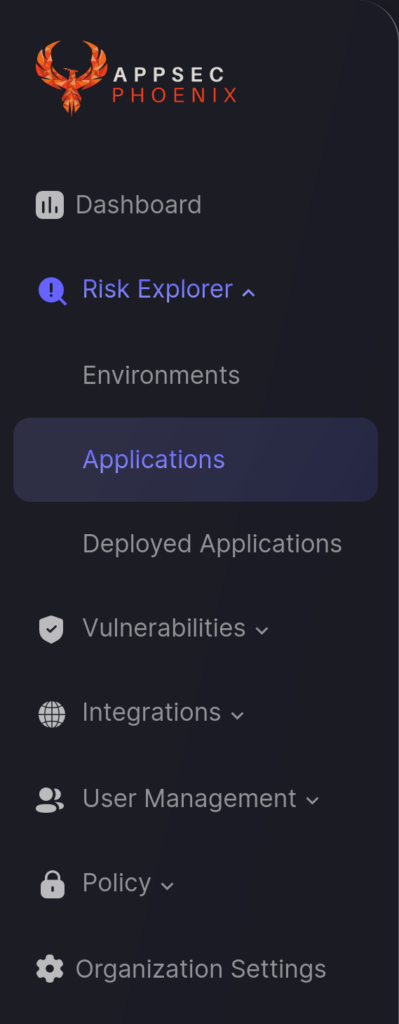
- On the Navigation Menu, go to Integrations > Workflow. Then click on the Create Workflow button.
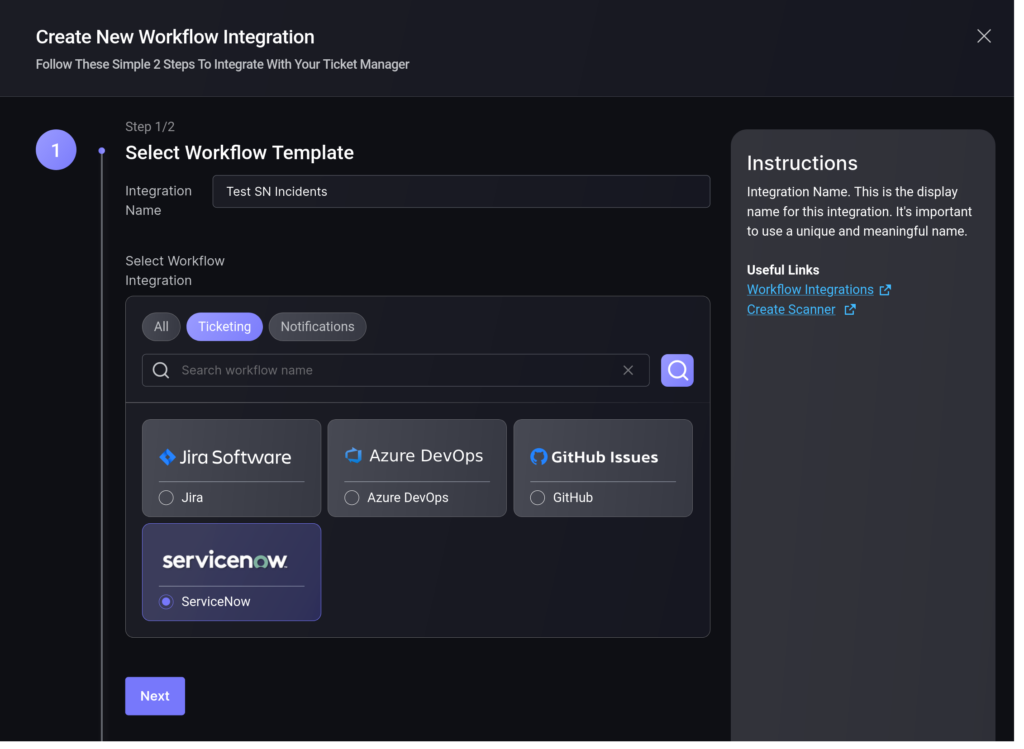
- In the first step enter an name for the integration and select the ServiceNow integration type. Then click Next.
- On the second step you need to provide the ServiceNow connection details obtained at the start of this article:
- Server URL: The base url of your ServiceNow instance
- Client ID and Secret: from the OAuth clientcredentials
- Username and Password: from the user credentials
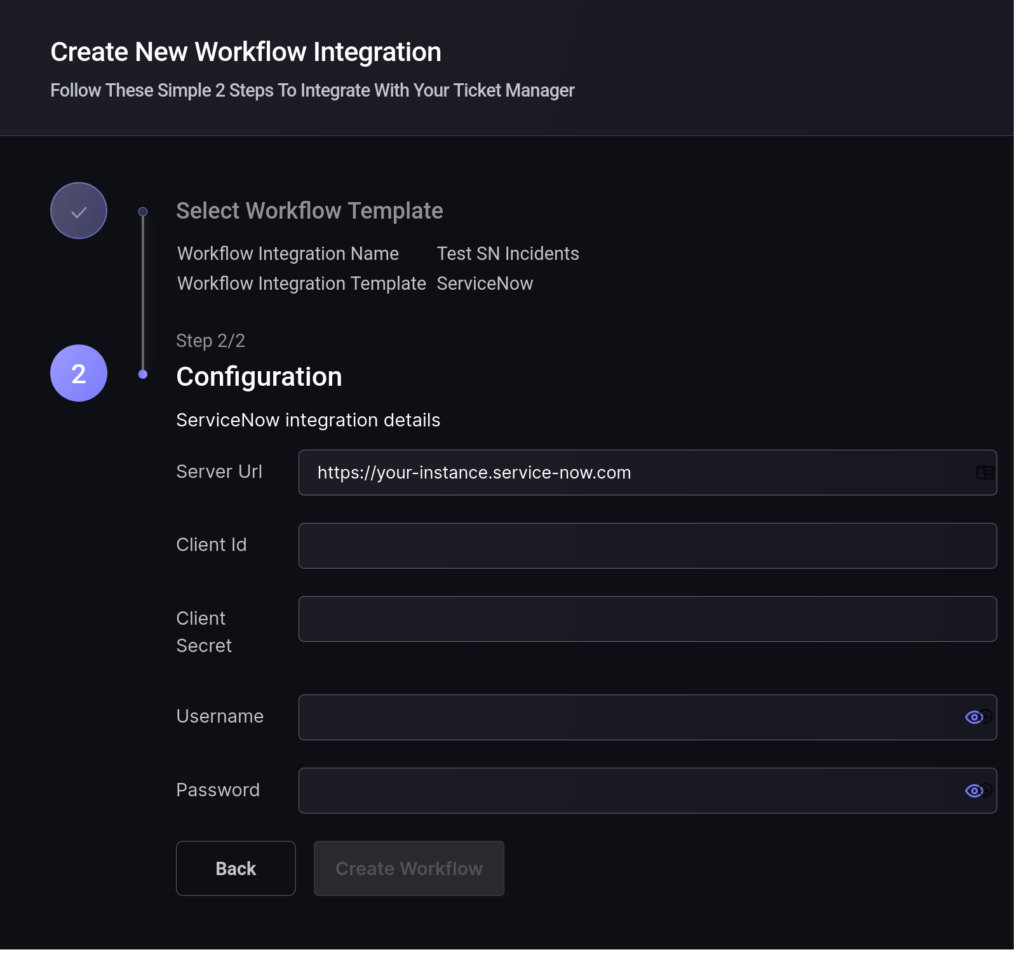
- Click the “Save Workflow” button.
B. Link ServiceNow Incidents to an Application
In order to link an existing Phoenix Security Application to ServiceNow, you need to edit the Application and enable the “Link to Issue Tracking Project” checkbox.
- On the Navigation Menu, select Risk Explorer > Applications.
- Select the Application List tab and scroll down to the Application that you want to update. Hover your mouse over the application entry, click on the three-dots icon than appears on the right, and select Edit (pencil icon).

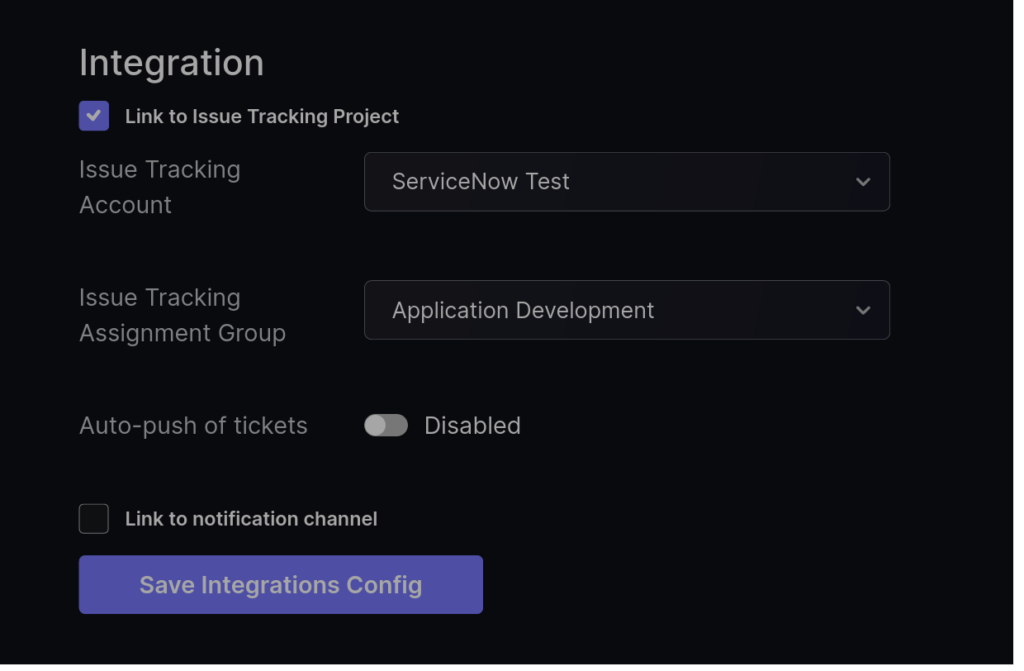
- In the Update Application form, find that Integration section on the right-hand side and check the “Link to Issue Tracking Project”.
- Select the ServiceNow integration account and Incident team that you want to link the Application to.
- Click the “Save Integrations Config” button to save the changes.
By linking your application to a ServiceNow team you will be able to create tickets in Incidents for the application’s vulnerabilities with a single click.
Once the process is completed a ServiceNow logo will appear next to the Application in the Applications list to indicate that the Application is currently linked to ServiceNow Incidents.

C. Link ServiceNow to an Environment
In order to link an existing Phoenix Security Environment to ServiceNow, you need to edit the Environment and enable the link to “Link to Issue Tracking Project” checkbox. The whole process is analogous to the one for Applications (above):
- On the Navigation Menu, select Risk Explorer > Environments.
- Select the Environment List tab and scroll down to the Environment that you want to update. Hover your mouse over the application entry, click on the three-dots icon than appears on the right, and select Edit (pencil icon)
- In the Update Environment form, find that Integration section on the right-hand side and check the “Link to Issue Tracking Project”.
- Select the ServiceNow account and team that you want to link the Environment to.
- Click the “Save Integrations Config” button to save the changes.
Once the process is completed a ServiceNow logo will appear next to the environment in the Environment list to indicate that the environment is currently linked to a ServiceNow Incidents team.
D. Create a ServiceNow Incident to Track a Vulnerability
Once ServiceNow is fully integrated with your Phoenix Security account, you can create ServiceNow incidents to keep track and monitor a Vulnerability identified in your Application. Here are the steps for you to follow:
- On the Navigation Menu, click Vulnerabilities.
- Scroll down until you see the Vulnerabilities section. Look for the Vulnerability you wish to track with ServiceNow and click the ServiceNow icon corresponding to it (marked with the white line in the screenshot below).
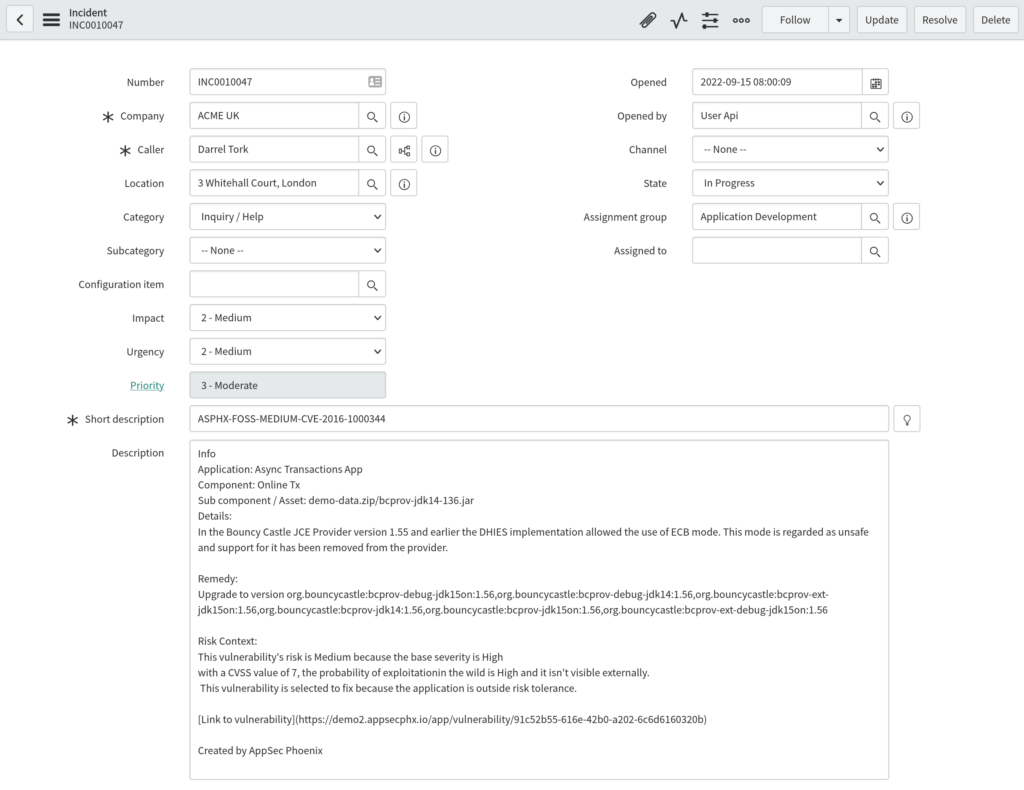
- Once a ticket has been successfully created, the ticket reference number and status will be displayed where the ServiceNow icon was located in step 2. An example has been marked with a red line in the screenshot below.
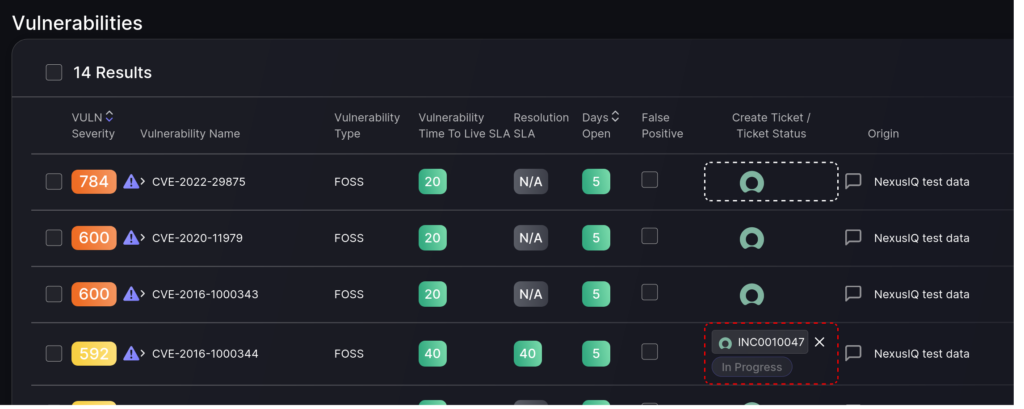
- Click on the ticket reference number to open the incident ticket page in ServiceNow.
You can monitor the progress of the ticket on ServiceNow moving forward.
E. Create WebHooks to Get Status Updates
In order to get status updates for your tickets delivered to Phoenix Security, you need to configure a webhook in ServiceNow’s Admin area.
1. About Business Rules in ServiceNow
A Business Rule is a small piece of server-side logic that runs when a record in a ServiceNow table is created, updated, deleted, or queried. We’ll use one to trigger whenever an Incident is updated.
Full reference (pick your ServiceNow version at the top of the page): https://www.servicenow.com/docs/bundle/washingtondc-api-reference/page/script/business-rules/concept/c_BusinessRules.html
2. Create the Business Rule
Step 1 — Open the Business Rules list
- In ServiceNow, in the left navigation filter, type “Business Rules”.
- Click System Definition > Business Rules.
- Click the New button on the top of the list.
Step 2 — Fill in the basic fields
| Field | Value | Notes |
|---|---|---|
| Name | Phoenix Security – Incident Updates | Anything descriptive works. |
| Table | Incident [incident] | The table we listen on. |
| Active | Checked | So the rule runs. |
| Advanced | Checked | Reveals the Advanced tab where the script lives. |
Step 3 — Set When to Run
Switch to the When to run tab and configure:
- When: after — we want the change to be saved before we send anything.
- Update: checked — fire on update.
3. Add the script
Switch to the Advanced tab. You’ll see a Script field — that’s where the code goes.
Paste the script below into that field. The only thing you must change is the URL on the line marked below: replace it with the webhook URL shown on Integrations > Workflow > ServiceNow integration in the Phoenix platform.
The script:
  function postIncidentStatusChange(incident) {
    // Only act when the status field actually changed
    if (incident.changes() && incident.changes().status) {

        // Create a new outbound REST message
        var restMessage = new sn_ws.RESTMessageV2();

        // *** Replace this URL with your Phoenix webhook URL ***
        restMessage.setEndpoint('https://external-url.com/api/endpoint');

        // POST + JSON
        restMessage.setHttpMethod('POST');
        restMessage.setRequestHeader('Content-Type', 'application/json');

        // Build the payload Phoenix expects
        var jsonObject = {
            "action":   "update",
            "id":       incident.sys_id.toString(),
            "url":      gs.getProperty('glide.servlet.uri') + incident.sys_id,
            "status":   incident.status.toString(),
            "assignee": incident.assigned_to.getDisplayValue(),
            "email":    incident.assigned_to.email
        };

        restMessage.setRequestBody(JSON.stringify(jsonObject));

        // Send the request
        var response   = restMessage.execute();
        var httpStatus = response.getStatusCode();
        var body       = response.getBody();

        // Optional: log the response for debugging
        gs.info('Phoenix webhook status: ' + httpStatus);
        gs.info('Phoenix webhook body: '   + body);
    }
}

// Run the function for the current record
postIncidentStatusChange(current);
Click Submit (or Update if you’re editing an existing rule).
6. Troubleshooting
If Phoenix doesn’t show the new status:
- Open System Logs > All in ServiceNow and search for “Phoenix webhook”. You should see the two log lines from the script.
- If the HTTP status is 200 / 204, Phoenix received the call — check that the incident is linked to a Phoenix vulnerability.
- If the HTTP status is 401 / 403, the webhook URL is wrong or expired — copy a fresh one from Phoenix.
- If you see no log lines at all, the Business Rule isn’t firing. Re-check: Active is checked, Table = Incident, When = after, and Update is checked.
If the script field is missing:
Tick the Advanced checkbox on the main Business Rule form. The Advanced tab (with the Script field) only appears once that’s enabled.
If “sn_ws is not defined”:
This means the script is running client-side somehow. Make sure the Business Rule is server-side (the default) and not a Client Script. The Advanced > Script field on a Business Rule is always server-side.
7. Optional improvements
- If you also want to notify Phoenix when an incident is resolved or closed, add a second check next to incident.changes().status — for example, also listen for incident.changes().state or specific values.
- If you don’t want the gs.info log lines in production, remove or comment them out. They’re only there to help during setup.
- If you have multiple Phoenix tenants pointing to the same ServiceNow instance, create one Business Rule per webhook URL with a distinct Name.