1. Introduction
The User Management page lets you create new users, edit existing users, and deactivate users from your Phoenix Security organisation.
2. Parts of the User Management Page
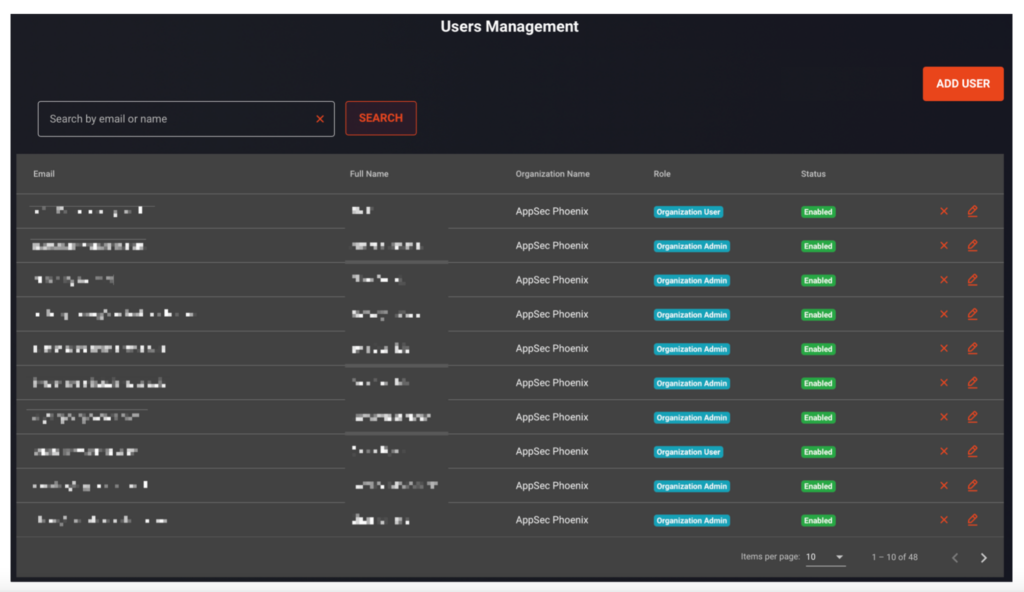
The User Management Page consists of the following:
a. Search bar – used to look for user by first name, last name, or email address
b. Users List – occupies most of the User Management page wherein the list of all users in your Phoenix Security organisation can be found.
The User List consists of seven columns, namely:
- Email Address
- Full Name
- Organisation Name
- Role
- Status
- Delete
- Edit
The Users List displays 10 users per page by default, but you can set the list to display 5, 25, or 100 users per page as well.
c. Add User button – located at the top right corner of the page where you can create a new user in your Phoenix Security organisation.
3. User Roles
Each user can be assigned to one of these four roles:
a. Organisation Admin – a super administrator role that has the highest privilege and access to all Phoenix Security features across all Applications. The Organisation Admin can manage Applications, Components, Environments, Vulnerabilities, and Users.
b. Organisation Admin Lite – provides the same privileges as Organisation Admin but without User Management.
c. Organisation App Admin – an administrator role that provides admin privileges on a specific Application only.
d. Organisation User – a basic role that can be set to regular (non-admin) users with standard privileges and access to your Phoenix Security instance.
4. User Statuses
In addition to user roles, users can also have one of these statuses:
a. Enabled – user is an active user and can log on to Phoenix Security.
b. Disabled – user is deactivated and cannot log on to Phoenix Security.
c. Unavailable – user is deleted from your Phoenix Security organisation.
5. Managing Users
a. Adding a New User
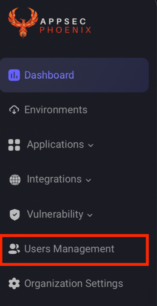
- On the Navigation Menu, click Users Management.
- Click “Add User”.

- Enter the following user details:
- Email Address
- First Name
- Last Name
- Phone Number
- Role
- MFA (Multi-Factor Authentication)
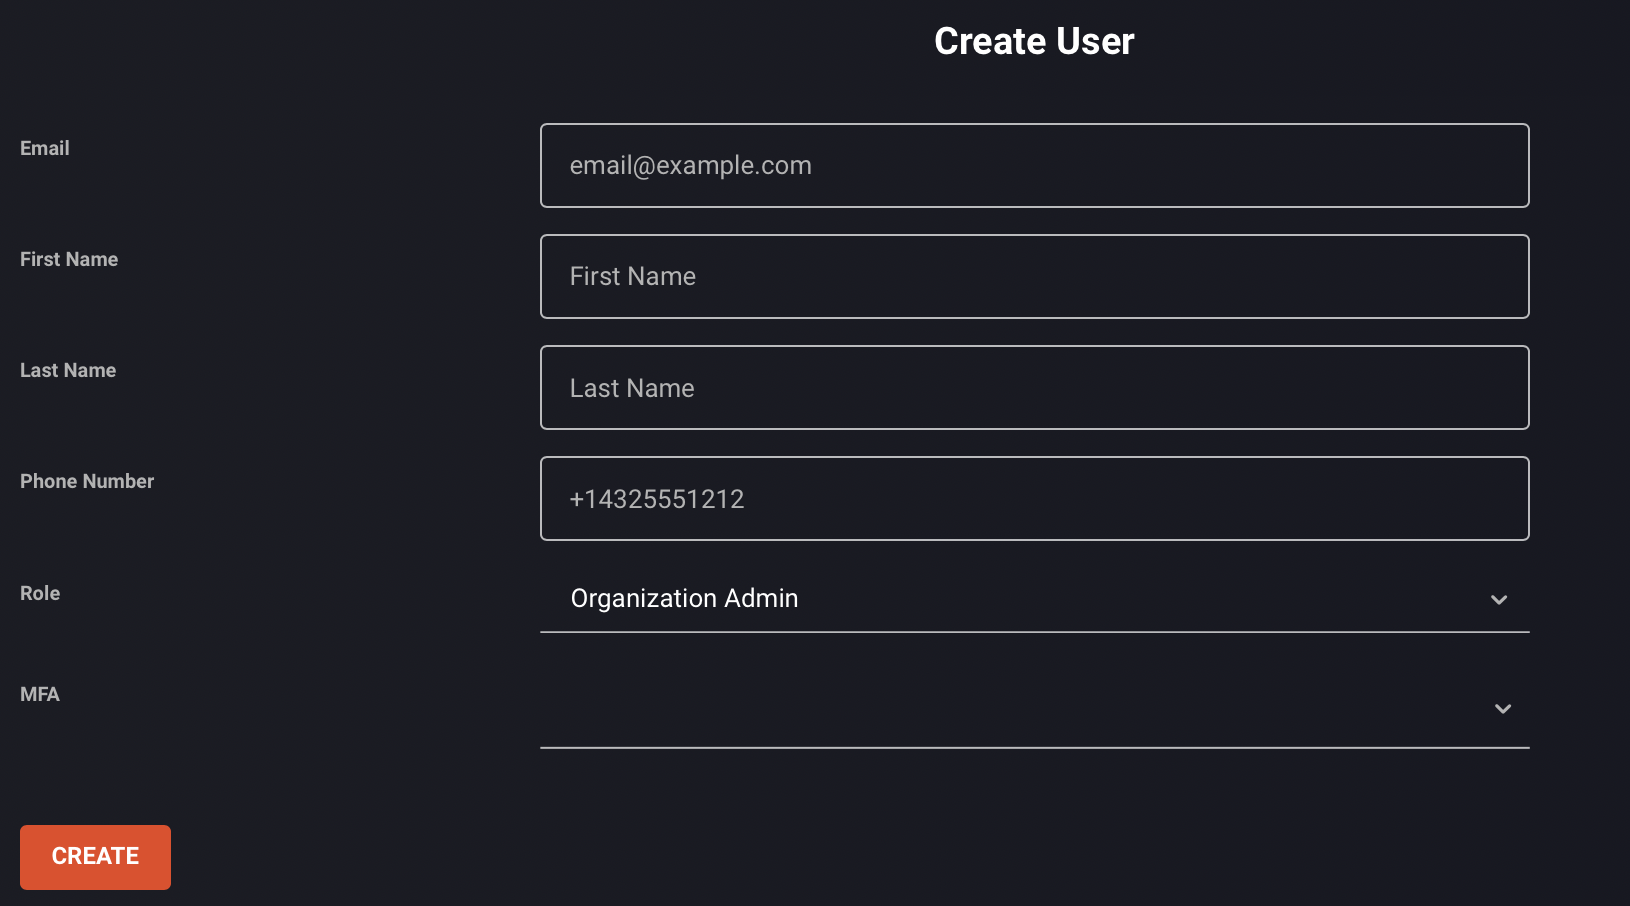
Click “Create” once done.
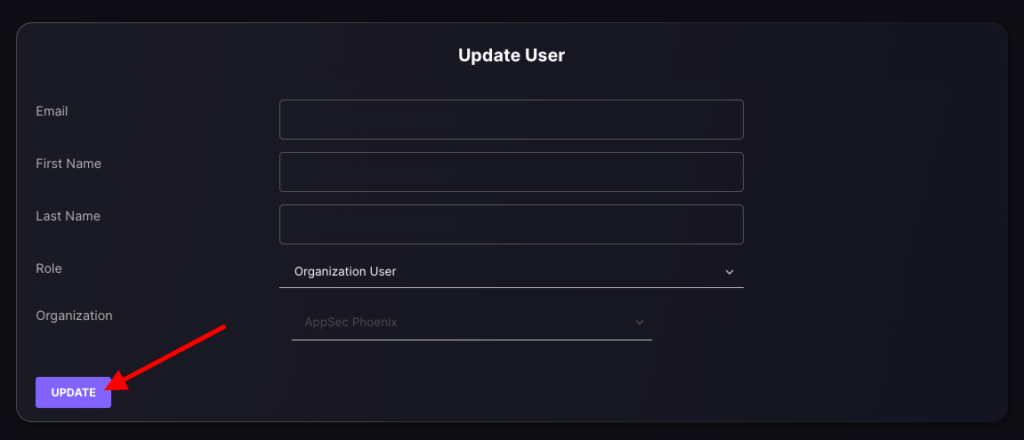
b. Editing a User
- On the Navigation Menu, click Users Management.
2. Look for the user you want to edit and click the corresponding Edit (pencil) icon.
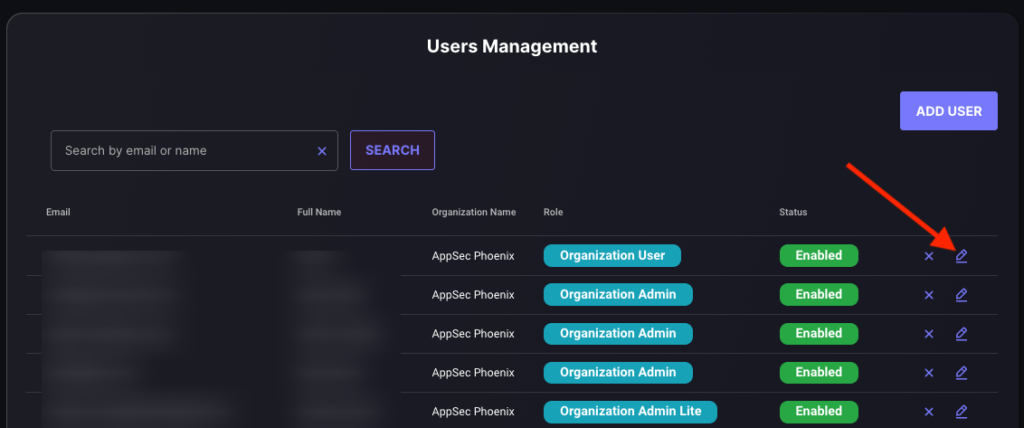
3. Edit the field you want to update in the Update User form.

4. Click the “Update” button once done.
c. Deactivating a User
- On the Navigation Menu, click Users Management.
2. Look for the user you want to edit and click the corresponding Delete (X) icon.
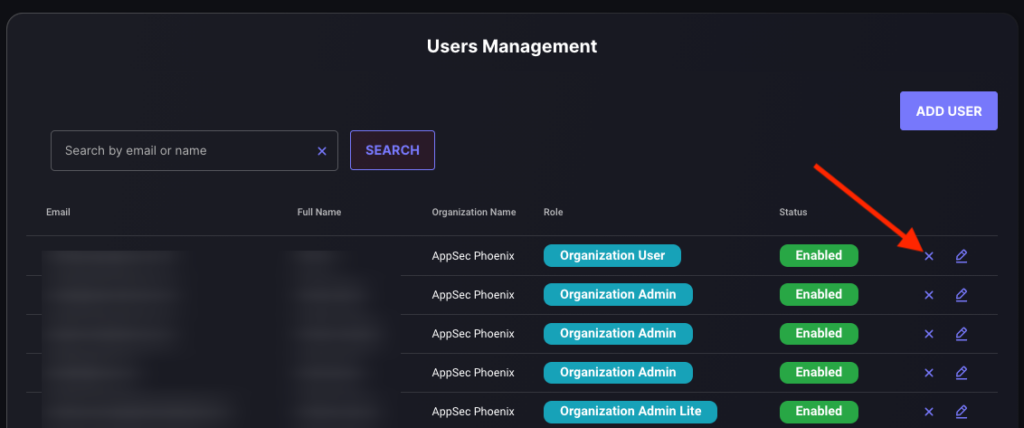
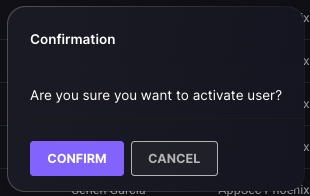
3. A message appears to asking you to confirm if you want to proceed with deactivating the user. Click “Confirm” to proceed.

The user’s status will now be marked as Disabled when you go back to the Users List.
d. Reactivating a User
- On the Navigation Menu, click Users Management.
2. Look for the disabled user that you want to reactivate and click the corresponding Activate (check) icon.
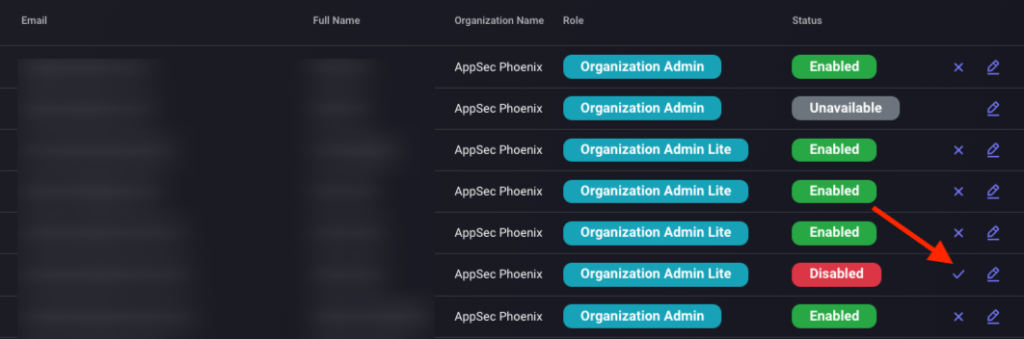
3. A message appears to asking you to confirm if you want to proceed with reactivating the user. Click “Confirm” to proceed.
The user’s status will now be marked as Enabled when you go back to the Users List.